WhistleSmith Mountain Made Low D Whistle has Easy Reach Fingering! Play using just your fingertips!
All WhistleSmith whistles are tuned to Just Intonation A440.
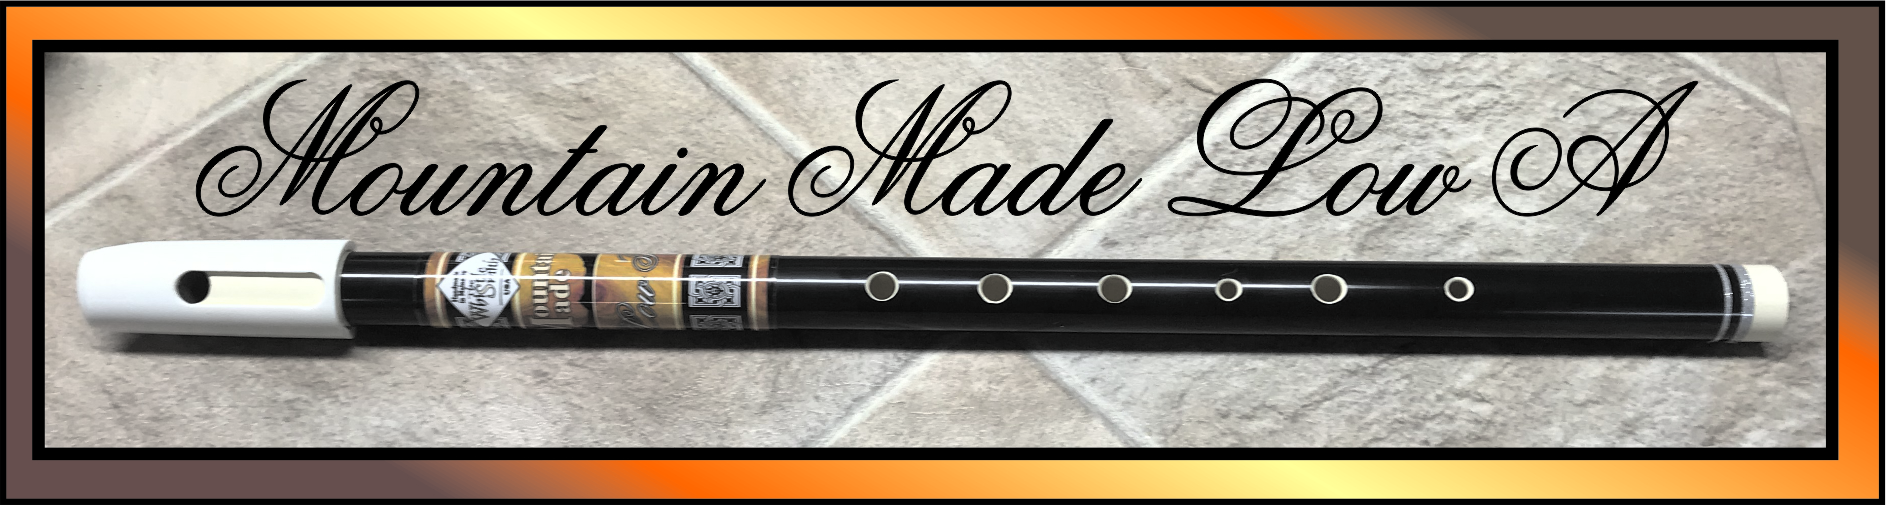
Low D whistle is 23″ overall length with offset finger holes on both ring fingers.
Extra time has been spent on hand tuning each instrument to assure playing performance.
Finger reach is 3″ from center of index finger to center of ring finger, using enough pressure to seal the hand cut finger holes.
Mountain Made Low D polymer body has a “shiny as glass bore” to eliminate moisture. A high density polymer fipple in the mouthpiece and a hand reamed foot increases volume and stabilizes the lower three notes.
If you play outdoors, the Mountain Made Low D is for you! Mountain Made Low D stays in tune in 50 degree cold to 90 heat & plays in a breeze without missing a beat!
Whistle tuning does not change with temperature, so tuninge slide is eliminated! Do a short warm up with your breath & as the Irish say “the whistle plays hot”.
Whistle top cap is made of white polymer and rotates or slides off the whistle for easy cleaning of the windway.
Fingering is the same on all WhistleSmith whistles. Play right out of the box! Mountain Made Low D plays in key of D, G, & Em with no tricky cross fingering.
Mountain Made Low D is designed to play with less breath, short reach & more volume. The Mountain Made Low D has a rich, full voice and balanced high and low octaves. Playing notes from low to high octave is quick and precise.
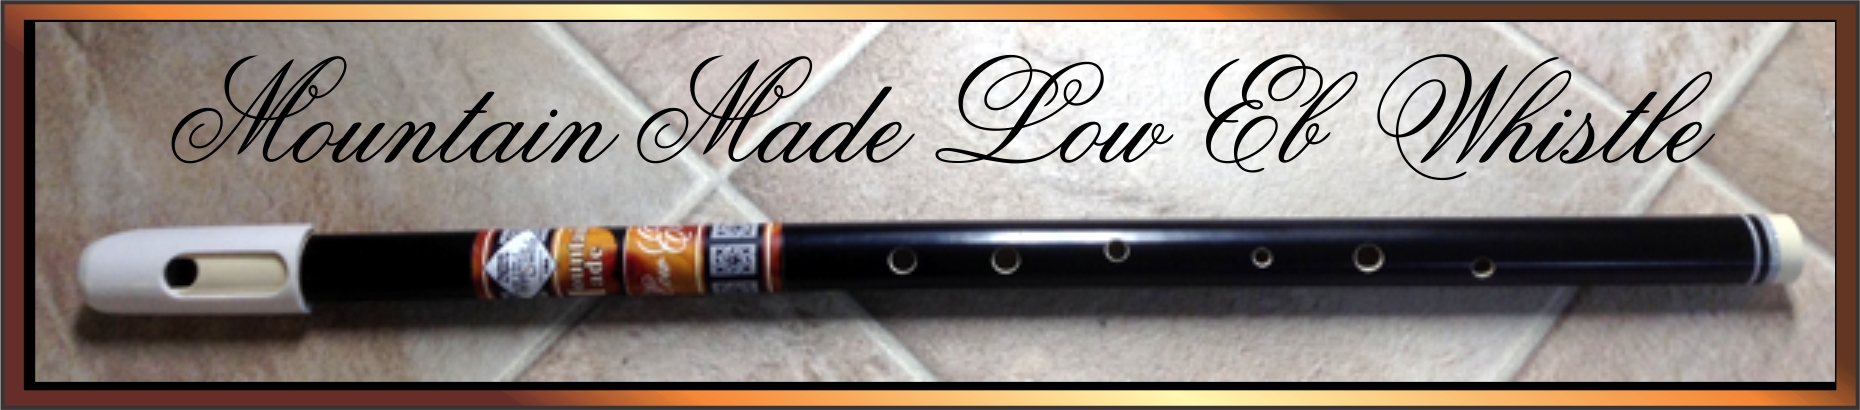
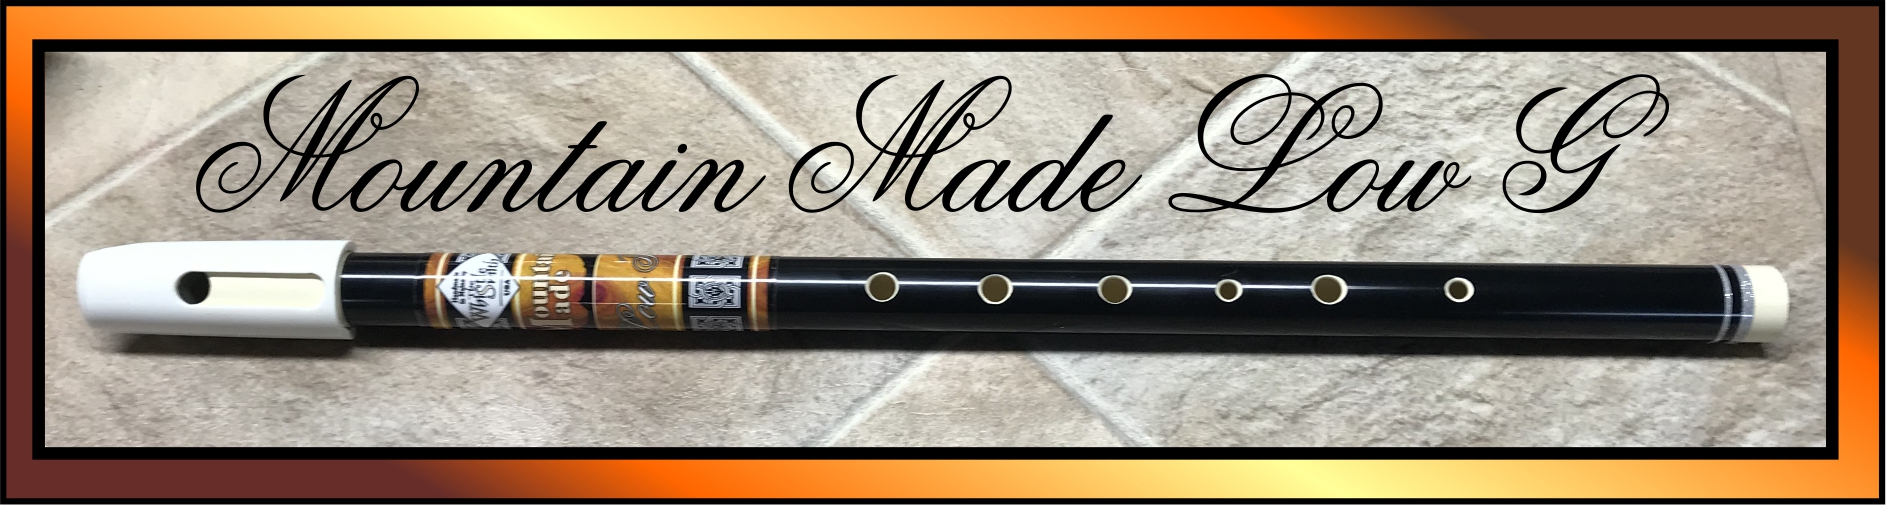
Mountain Made Low D has a double coated Tuxedo Black body and dazzle silver striping. WhistleSmith label has the whistle key for easy reference when playing instruments. The clear wrap makes a hand grip and helps to prevent “jewelry wounding”.
You are purchasing a Low D whistle for a Right Handed Player (right hand bottom and left hand top) with offset finger holes for both ring fingers.
A color coded fingering chart and whistle tips and instructions sheet are included.
A quality handmade cleaning rod is included to use for maintaining your new whistle.
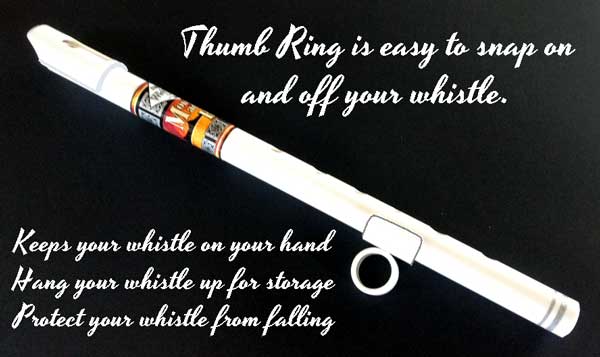
Buy a Thumb Ring and get a grip on your whistle! Thumb Ring ships with your order.
Exclusively sold at www.whistlesmith.com, our Irish Whistles embody both quality and affordability. With our Buy Direct pricing, you gain access to top-notch Irish whistles at unbeatable prices, delivered straight from our workshop.
Additionally, our strategic inventory management has helped us maintain consistent pricing. Despite potential increases in shipping and material costs, we’ve ensured there are no price hikes on our products. Choose WhistleSmith for your journey into the vibrant world of Irish music – where quality meets value.
Ready to buy your whistle? Checkout below to get your whistle right away!
Not sure yet? Visit our Hear Our Whistles page to listen to sound files of our whistles before making your decision. We’ll send the files directly to you for the whistles you’re interested in.
Shipping Calculated at checkout
Priced at $79.95